Making your own shortcrust pastry is so easy, you will wonder why you ever spent the extra dollars on the store bought variety. Use this recipe for either sweet or savoury dishes and create a simple, yet short (that’s where you get that crisp base from) pastry.
Yum, who doesn’t love a lovely tart with a really lovely shortcrust pastry base? This can be used for quiche, sweet tarts, savoury tarts – it’s simple and delicious.
This recipe is made in the food processor – if you do not have a food processor, you can still make it by hand – work quickly and only use the tips of your fingers when getting the mix to “breadcrumb” stage (if you use your palms the mix will heat up).
Ingredients:
- 1 3/4 cup plain flour
- 125g chilled butter (roughly chopped)
- 1 egg yolk, lightly whisked
- 2 teaspoons iced water
Put the flour and butter into the processor – process until it looks like fine breadcrumbs.
 Add egg yolk and water and process until dough just starts to come together (note – add more water if required).

You are aiming for a soft, smooth dough.

You will need to blind bake the pastry.
Lemon Tart – Just Like it Says, With a Bit of a Zing Bite Included
All that left over lemon juice from making the Limoncello and I just had to create something – I had promised work I would make a lemon tart and bring it in – wonder if it will last that long?
I have to tell you, when I ask for a lemon tart, I expect that tartness on the tongue which reminds me of eating sherbet as a kid – you know, that zing that makes you squirm yet salivating for more? This is it!

Click here for the shortcrust pastry recipe.
To make the filling:-
Ingredients:
- 3 tablespoons lemon zest
- 2/3 cup lemon juice
- 6 eggs
- 1 cup castor sugar
- 1 1/3 cups pouring cream
Whisk ingredients together, set aside until ready for use.

Pour lemon mixture over pastry base.

Bake in oven until set. Let the tart cool before trying to remove it from the pan. Note, that when I made this one, it was a bit tricky to get the tart out of the pan without breaking it – tip: either put some extra baking paper underneath it that you can reach so you can pull it up, or be smarter and use a spring form pan instead (be smarter, lol).

Note: if you have lemon mix left over, put into a baking dish and bake separately – serve with ice cream – yummy.
Blind Bake Pastry – Step by Instructions Made Easy
The trick to a good base is to blind bake pastry. By doing this, you are setting the foundations for a really good, short, crisp base instead of a soggy mess.
A blind bake pastry is really easy to make. The idea is so that you can keep a fairly thin crust without it bubbling up before you put the filling in.


Once you have made your pastry, follow these steps.
Roll out onto a lightly floured surface – roll out to the size of the tray you intend to use for the tart. Line the tray with baking paper, then place into tray and trim to fit.
Refrigerate for at least half an hour to let the pastry rest. This will let the gluten relax and stop shrinkage.
The next step is to place grease-proof paper over the pastry, and cover with either baking beads or uncooked rice to weigh the pastry down and to stop it bubbling up.

Bake 180ºc for about 15 minutes to set the pastry.

Then remove the weights and put tray back into the oven, cook until slightly golden.
Remove from oven.


Carefully inspect your pastry – if it has cracks like mine does, the liquid will leak into the tray when you add the filling. You need to make a “putty” to fill the cracks and seal the pastry.
To make the putty, mix some flour and water together to form a paste.

Then spread a film of paste over the baked pastry, making sure you fill any cracks.

Then, back into the oven to cook off the base again.
You will see that the “putty” will be firm when ready.

Once your tart base is ready, you can then continue on with the recipe and fill as per the recipe instructions.
Sausage Rolls – Easy Homemade Bulk Version – Ready to Freeze
My boys always loved home made sausage rolls – we knew what went into them – and they would eat them in no time – this recipe is perfect to freeze and keep for a quick meal later – no need to defrost, just straight into the oven – you’ll know when they are cooked – they will be golden and just begging to be devoured.
There are lots of variations to making sausage rolls – change the spices to whatever flavours you like – another variation which we have made (and loved) have been with pork, apple and sage (my favourites to date!).

You will need:-
- 1kg beef mince
- 500g pork mince
- 12 sheets puff pastry
- 1 cup chopped corriander
- 2 eggs
- 1 cup breadcrumbs
- 1/2 cup Kepap Manis (Indonesian sweet soy sauce)
- 1/2 cup sweet chilli sauce
 Separate your sheets of puff pastry and spread out so they can defrost – use a knife to gently separate the sheets. Do not remove the plastic divider sheets, you will need these later.
Place all ingredients (except for the puff pastry of course) in a bowl.

Mix well by hand. I grab and squeeze to mix this – I’ve found its easier and quicker – just dip your hands into it, grab and handful, lift and squeeze – repeat.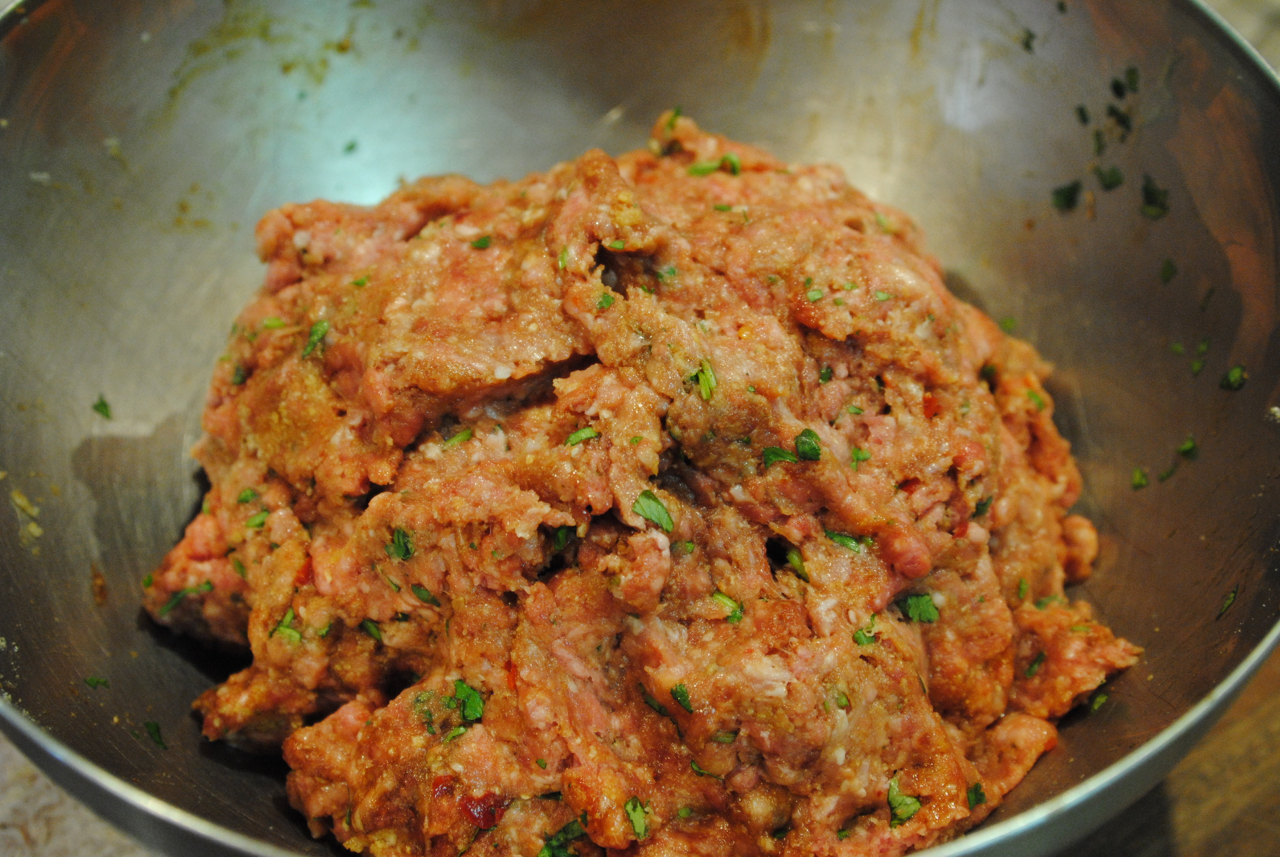
You want it to be mixed to a consistency of rissoles – firm but not dry.
Divide the mixture up into 12 even quantities.

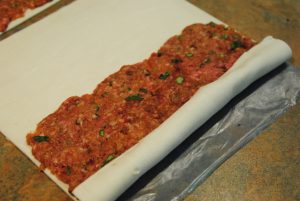
Take one of the mince balls, and spread it out over half of one of the puff pastry sheets. Repeat for each ball to a sheet of pastry.

Start to roll up the pastry, leaving the plastic behind.
Continue to roll up the pastry to the end of the plastic.

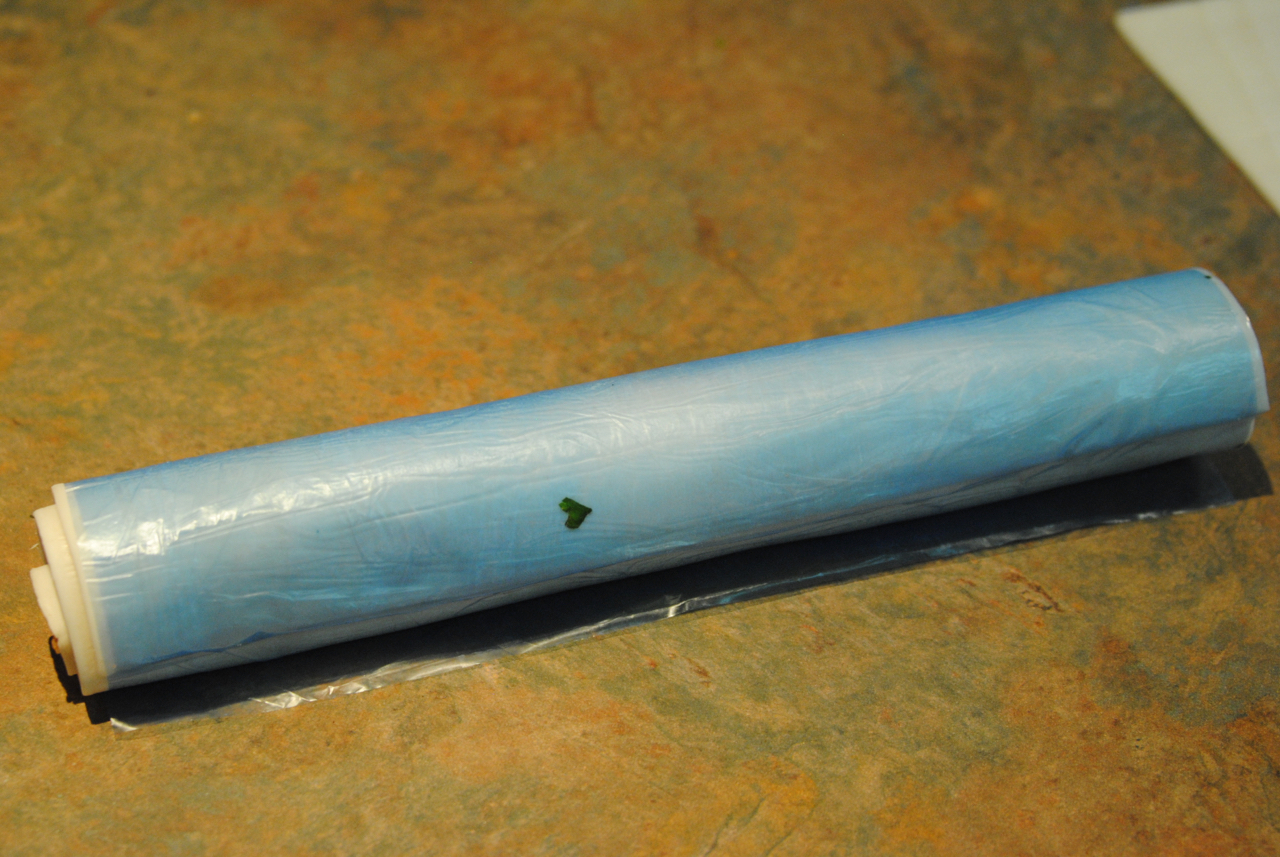
Then roll the plastic back around the newly formed sausage roll.

Next, cut the roll in half – you now have 2 sausage rolls with the plastic wrapped around the outside of the sausage roll (you don’t want it rolled inside the roll – yuck!)

To cook: heat oven to about 200ºc and place sausage rolls on lined tray – make sure that the edge of the roll is on the underside of the sausage roll to prevent it unravelling when it cooks.

Cook until golden. Depending on your oven, you may need to rotate the tray part way through cooking to ensure even cooking. If they explode a little (like mine) its because the mince could probably have been spread a little further before rolling it up.

The rest of them? Place them in a plastic container in the freezer – the sheets of plastic will stop them sticking together in the freezer. To cook, just put on a lined tray (no need to defrost) in oven at 200ºc until golden.
Hot tip:- where the seal for the edge of the sausage roll is, make sure that you have it on the underside of the sausage roll when you freeze it – this way it stops the sausage roll unravelling when its cooking.

I thought for this one, I would do up a quick pricing, just to show how great these are for value for money along with a little effort.
Let’s pretend that you don’t have any of the ingredients in your pantry – I am going to use no-name brands where possible so that we can try and make it as cheap as – prices are as at today (May 17, 2015) and priced via online shopping prices through Coles – prices will vary, depending on your location of course, so this is only a rough guide.
- 1kg beef mince $7.00
- 500g pork mince $5.50
- 12 sheets puff pastry $5.40
- bunch fresh coriander $2.98
- 12 eggs $2.99
- 500g breadcrumbs $1.71
- 240ml Kepap Manis (Indonesian sweet soy sauce) $5.72
- 500ml sweet chilli sauce $2.00
Total amount to spend on initial spend: $33.30
Cost per sausage roll: $1.39
Now, just remember, this is for a full carton of eggs, a full bottle of sauce, etc and that you can use these ingredients in other things too – keep the coriander for the Sticky Asian Lamb dish. So let’s break it down a little further:
- 1kg beef mince $7.00
- 500g pork mince $5.50
- 12 sheets puff pastry $5.40
- 1 cup chopped corriander $1.50
- 2 eggs $0.50
- 1 cup breadcrumbs $0.80
- 1/2 cup Kepap Manis (Indonesian sweet soy sauce) $1.00
- 1/2 cup sweet chilli sauce $0.50
Outlay: $22.20
Cost: $0.92 cents per sausage roll
See how you can save? Add a mashed potato and some vegetables and you have a meal for under $2.00 (if you only eat one sausage roll of course!)
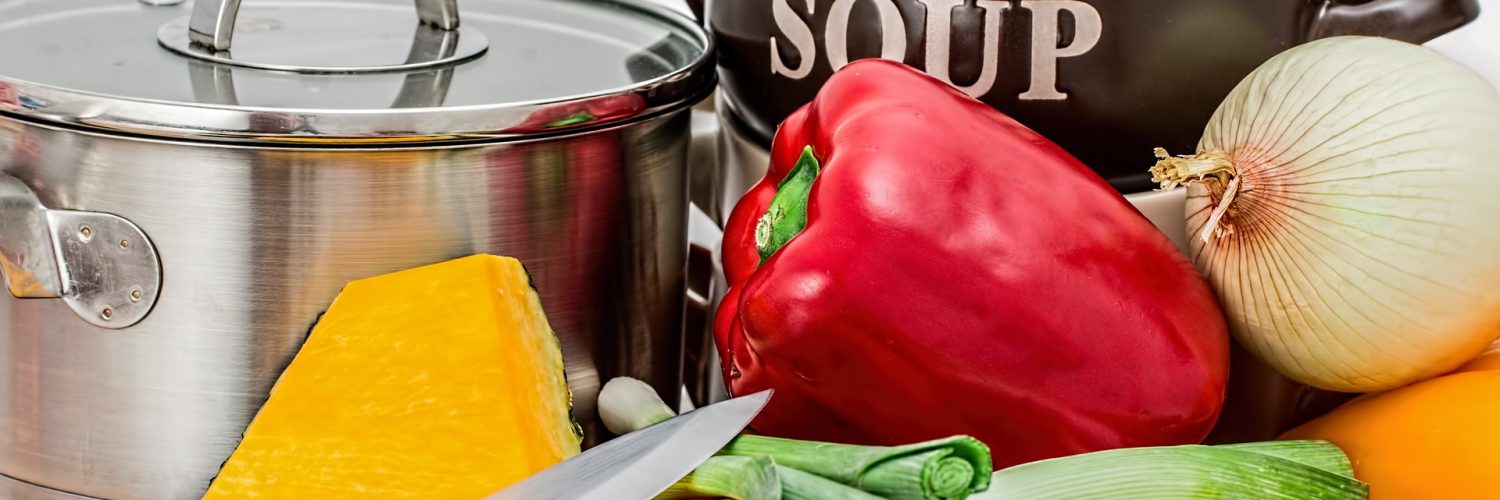
Ham, Pea and Vegetable Soup
This would have to be one of the easiest and heartwarming soups to make. Cheap too – and have either as lunch or dinner on a cold winter’s day.

This is made in 2 steps in the pressure cooker.
Ingredients:
- smoked ham hock (from butcher, supermarket or deli – use ham or bacon bones if not available – go whatever is cheapest)
- 2 sticks celery
- 2 brown onions
- 1 cup dried green peas
- 1 cup dried bortolli beans or dried soup mix
- 1 large carrot
- 4 cups chicken stock
Step 1:
In the pressure cooker, place ham hock, the heads of the celery sticks and 1 cup of stock, 1 cup of water. Run for a soup cycle.
Step 2:
Remove the ham hock from the cooker – remove all meat from the bone/s. Remove the celery from the stock in the cooker. Add back the chopped up meat, bones (yes, put them back in), chopped celery, onion, carrot, dried peas and beans, and the remainder of the stock. Run for another soup cycle.
Remove bones.
Store in fridge.
Notes:
if the soup is too runny, add more beans and put on for another cycle. If soup is too thick, add more water.
Chicken Stock
Once you have mastered how easy it is to make your own stock, you will never buy it again in a packet, powder or by any other means. If you need beef or fish stock, substitute the chicken. For fish stock use fish bones, fish heads, prawn shells, prawn heads, crab shells (do not use oyster shells or the gut of fish).

Stock is one of those staple things that are easy, cheap, and useful – something you won’t throw out, and something that you make out of things you were going to throw out!

While a raw carcass is the ideal place to start, I have also successfully used the carcass from a barbecue chicken (obviously not if its been chewed on though).
Ingredients:
- chicken bones (use carcasses, necks, or really cheap cuts)
- 3 sticks celery (use the head, keep the stalks for something else)
- 2 carrots
- 1 brown onion
- 3 cloves garlic
- salt
Super easy to make – if you are using a saucepan, just toss it all into the saucepan, add water to cover the ingredients. Turn the heat to medium/low, put the lid on and let it cook.
Refrigerate/freeze.
What would I use this for?
- ham, pea and vegetable soup
- chicken and vegetable soup
- chicken noodle soup
- risotto
- rice
Limoncello….
A couple of months ago, we moved house. When I was unpacking, I found a small bottle of Limoncello which I had made about 15 years ago for Christmas gifts. It was in its perfect pretty little bottle, tag still attached (I’d obviously either run out of friends to give it to, or made too much). Anyway, my hubby and I looked at each other and decided to give it a try – it was only alcohol right? could either be really seriously bad, or really seriously good…..
It was really seriously good. Smooth. Sweet. Lemony. Delicious.
And there was only a tiny glass for each of us.
At work the other day, one of my friends said “my lemon tree is full – do you want lemons?”
Yes, yes, yes…. at least 15 please pretty please….
Here’s the recipe – I’ve just made another batch today, its quietly doing its thing in the cupboard – should be ready for Christmas.

What you’ll need to start with:
- 2 x 750ml bottle of vodka (get the highest proof you can get, at the best price)
- 15 lemons
- large jar with screw on lid

Wash those lemons and give them a bit of a scrub – if they came from the supermarket, you want to get the wax and pesticides off them – if they are off a local tree or from a local market, give them a good scrub.
Zest them – you don’t want the pith (white part).
Put the zest in the bottom of the jar, pour in the vodka over the top. You will not need to shake or stir. Put on the lid and store in a cool, dark spot for at least 40 days – the longer the better as the lemon will infuse with the vodka. Just put it away and forget about it – do not throw out the empty vodka bottles, you will need them later (or drink more vodka in the meantime – just keep in mind you will need bottles later down the track).


Fast forward 2 months…
There is no way to fast track this one – you just need to be patient. Next step is to make a syrup:
- 4 cups sugar
- 5 cups water
Place sugar and water into a saucepan – gently boil for 5-7 minutes. Allow to cool and add to your lemon and vodka mixture (you may need a second jar at this stage). Put it all back into that cool dark place and forget about it for the next 2 months.
This is the hardest thing to do – wait… the temptation is so strong, but you really need to wait – don’t rush it or you will be disappointed with the result – remember, our missing bottle was drunk after 15 years and it was delicious!
Fast forward another 2 months…drinking time!
You’ve been patient and waited… now is the taste testing time. Sample your limoncello – is it ready?
Dukkah
Its been a long long time since I’ve made dukkah – freshly made, dished up with some olive oil and balsamic reduction, crusty bread and a glass of wine….just the way I like it.

Ingredients:
- 110g dry roasted nuts (hazelnuts or almonds)
- 80g sesame seeds
- 2 tablespoons ground coriander
- 2 tablespoons cumin powder
- 1 tablespoon salt flakes
- 1 tablespoon ground pepper
Method:
Heat the nuts up in a pan (or in the oven) – if they are hazelnuts, you will need to rub off the skins when they cool.
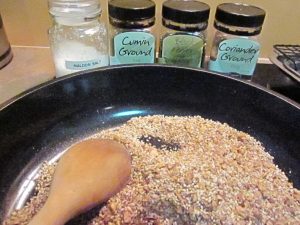
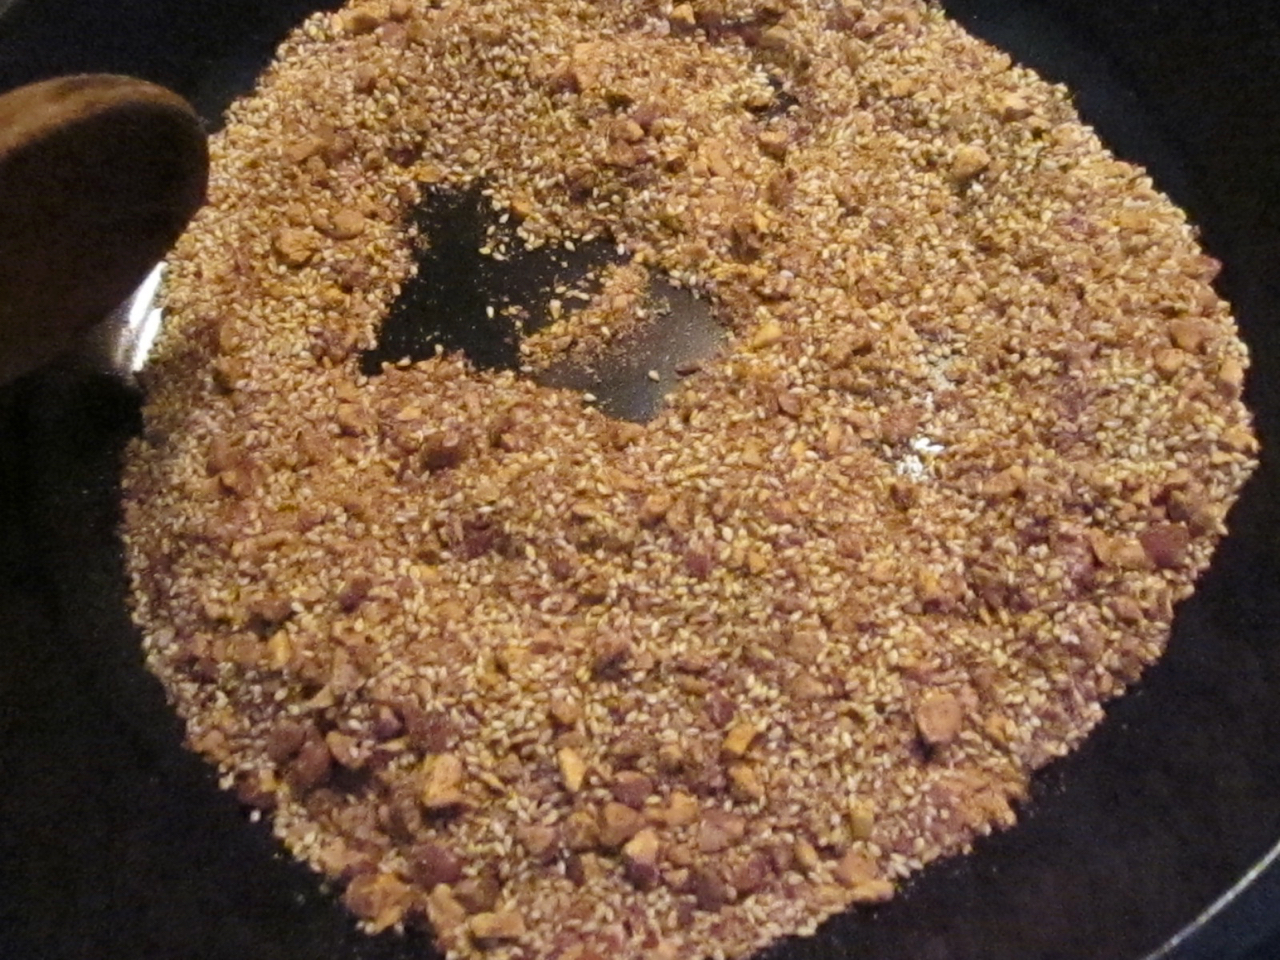
Toast sesame seeds in pan until golden – remove from pan (watch these as they will toast very quickly.
Toast up the herbs and salt until fragrant – remove from pan.
Process the nuts in a food processor (or do it by hand with a knife) until finely chopped.
Mix all ingredients together.

Store in air tight container.
Balsamic Reduction
Ingredients:
- 2 bottles balsamic vinegar
- 2 cups brown sugar firmly packed

Method:
Remove the lid and plastic cap from the bottles – keep both as you will need for later when bottling it back up again.
Pour the balsamic vinegar into a wide saucepan – you want the surface area so it reduces quicker. Add the brown sugar. Set on stove on high heat – bring to boil, then reduce temperature to simmer.
Cook for about an hour – you want it to get to a syrupy consistency – keep testing it with a spoon and see if it coats the spoon – once it coats the spoon – remove from heat and allow to cool to about body temperature.
Note: this will reduce to about half the quantity of liquid you started with.
Pour back into bottles (don’t pour it into the bottles if it is too hot as bottles may crack).
Serving ideas:
- use as a marinade or part of a marinade for steak, lamb, chicken
- serve with crusty bread and home made dukkah with olive oil (my favourite)
- use as a salad dressing
- use for extra flavour when cooking up a large batch of capsicum and chillies
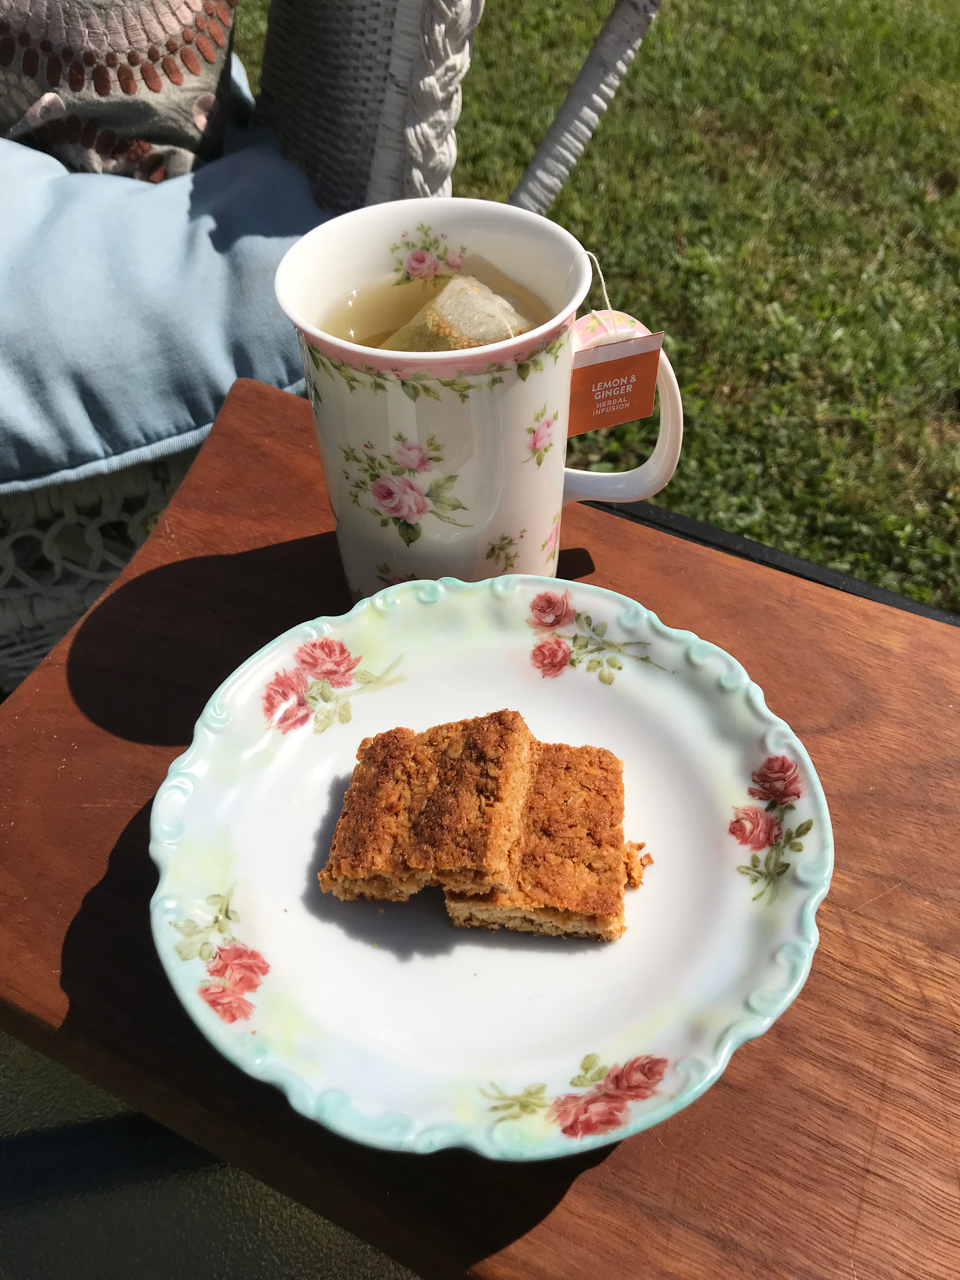
Chewy Honey Oat Slice
This little gem is really quick and easy to make – gluten free, paleo – and best of all – they will never know!!
Ingredients:
- 1 C almond meal
- 1 C shredded coconut
- 1/2 t baking powder
- 1/2 C oats
- 1 T coconut sugar (or brown sugar)
- 3T coconut oil
- 3 T honey
- 1/2 t vanilla essence
- 1 T water
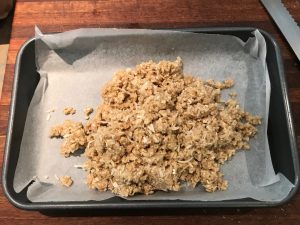
Method:
If the honey and or coconut oil aren’t soft and runny, you may need to heat them up a little to soften them (particularly in cold weather) so that the mixture comes together easily.
In a bowl, mix all dry ingredients, then add combined wet ingredients.
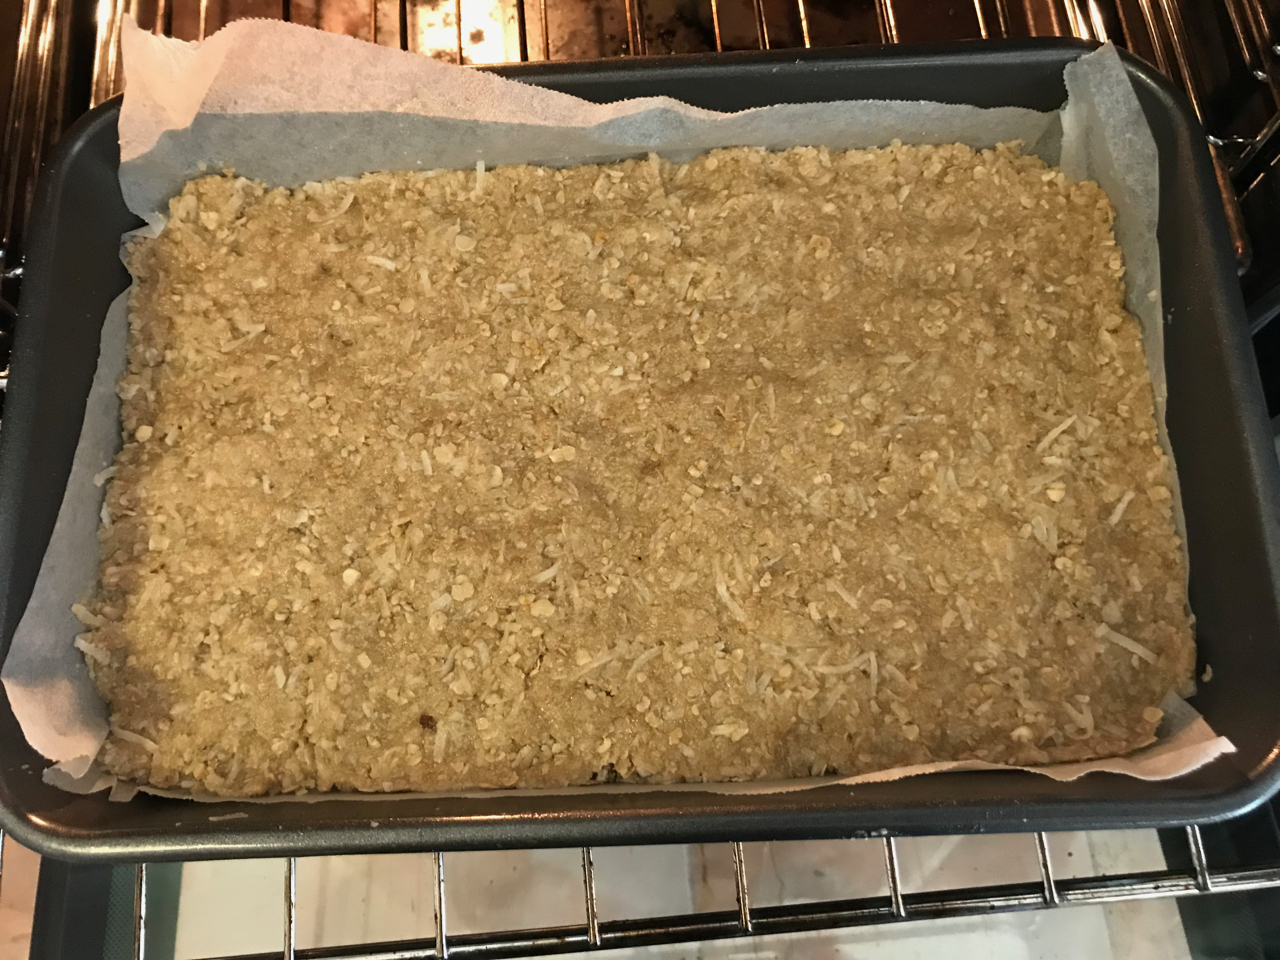
Press into a lined tray (this makes it easy to get out later on) and bake in moderate oven until golden. Cool in tray and then cut into slices.