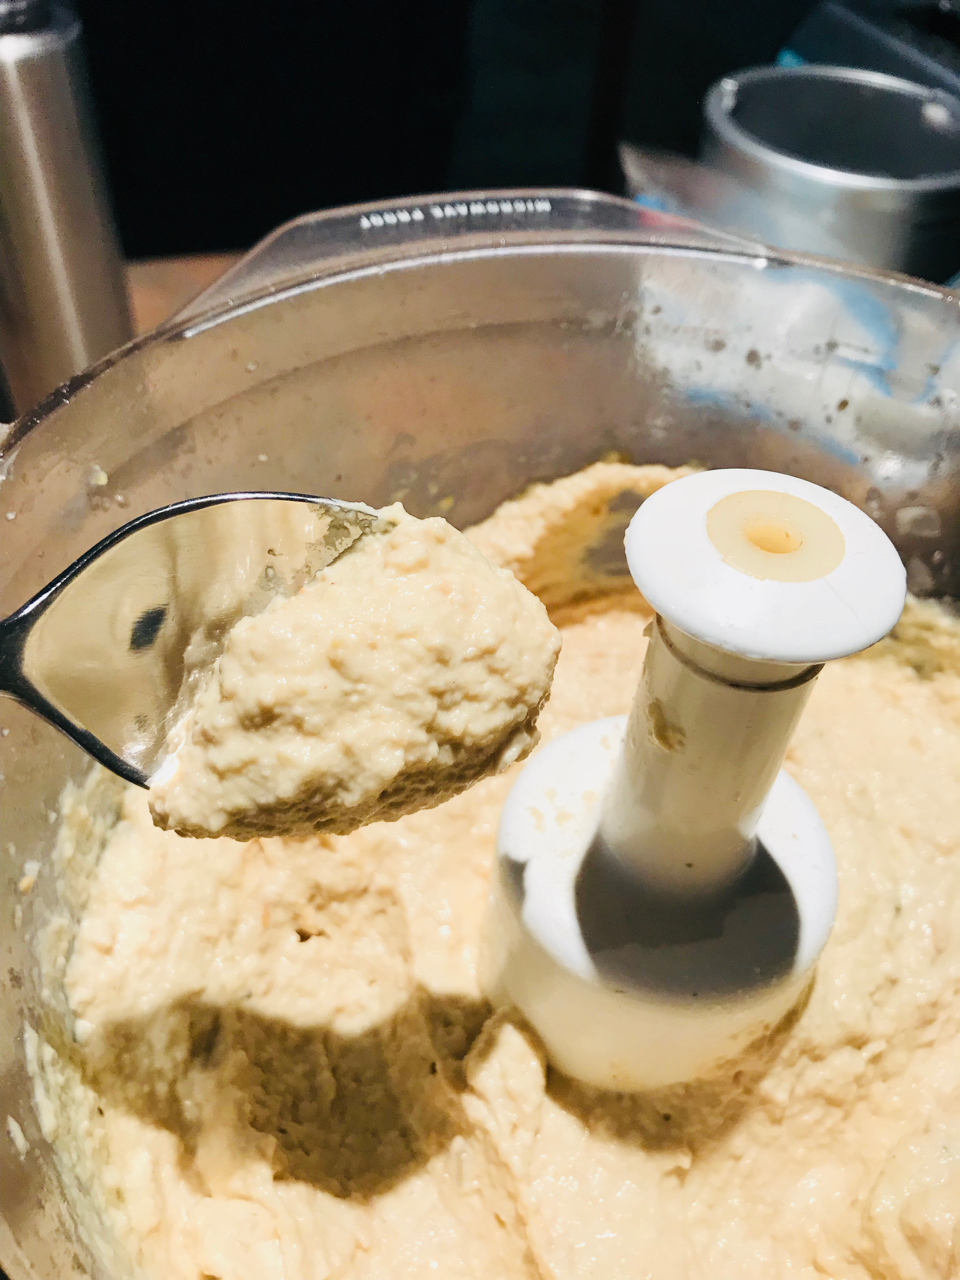
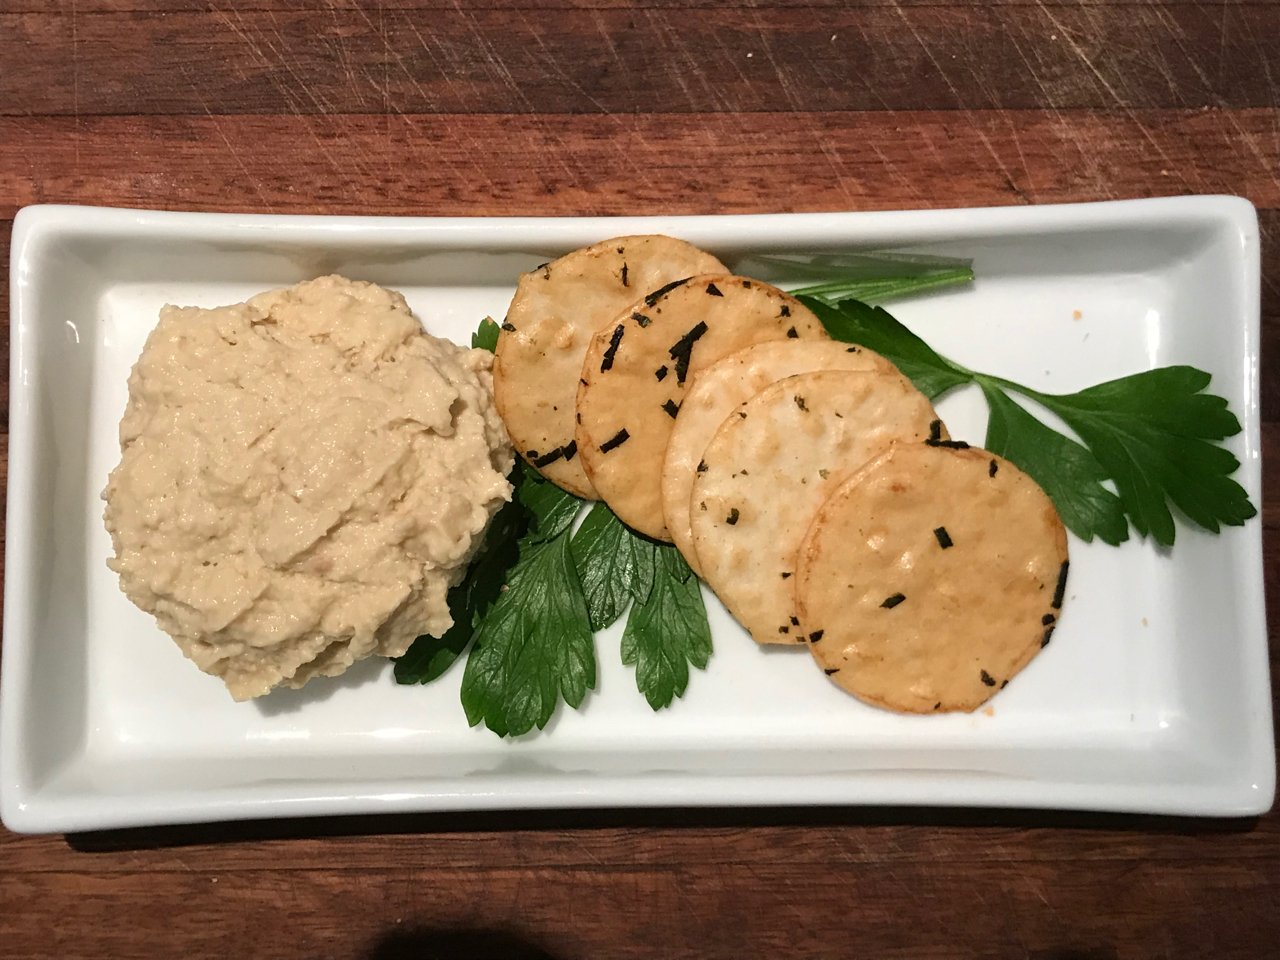
Hummus would be one of my favourite go-to foods. It’s nice for a snack with biscuits, or slathered on toast with butter, or as a side with a steak. This recipe is so different to the store bought one – the difference being that we use tinned pears and cashews which gives it a rich smoothness – this is one recipe you will have to try – and, as a bonus it will freeze plus it’s really cost effective compared to store bought hummus.

Ingredients:
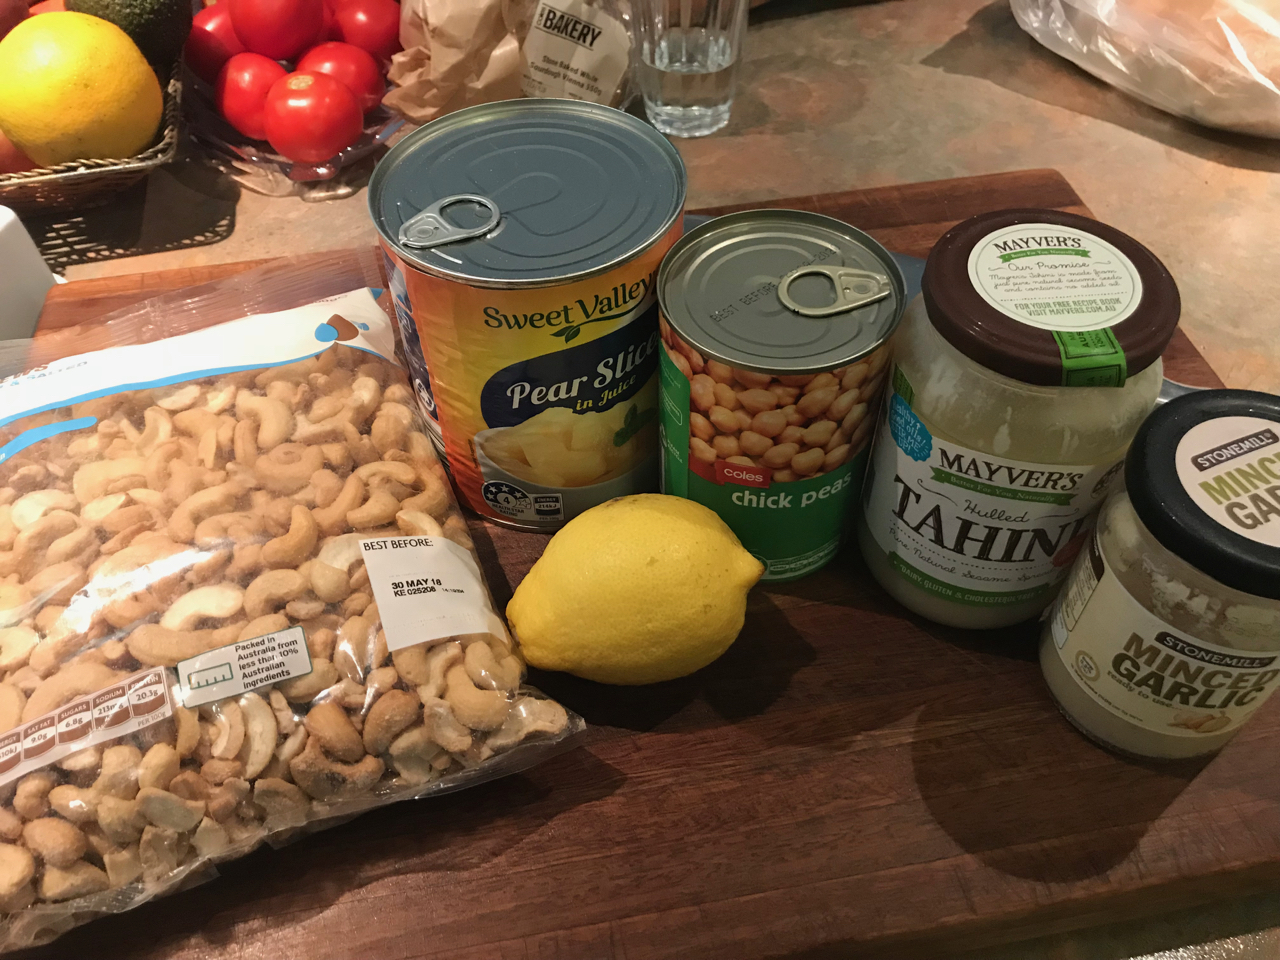
- 1 tin of chick peas, drained
- 1 400g tin of pears in juice (not syrup!) drained, retain juice
- 1 cup cashews
- 2 cloves garlic, crushed
- juice of 1 lemon
- 2 T tahini
- 2 T olive oil
- salt and pepper to taste
 Method:
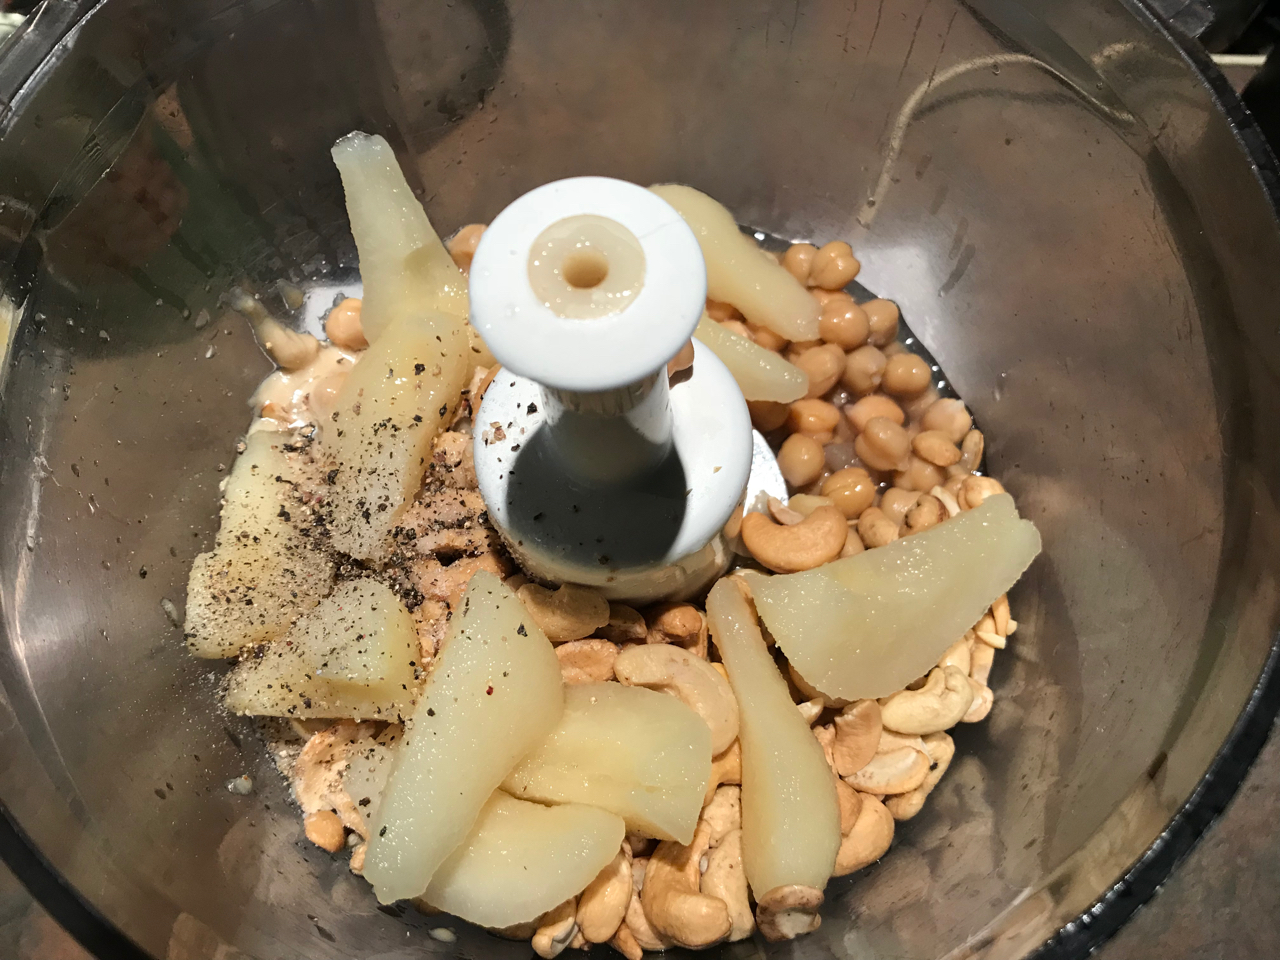
In a food processor or blender, place all ingredients and blend until smooth. If the hummus is too runny, add more cashews. If the blend is too dry, add pear juice.
Refrigerate.
To freeze, place in ziplock bags and make sure all air is removed from bag. Defrost in fridge, you may need to put through the blender again with a little more olive oil.
Pizza Sauce
Homemade pizza is the best – make it better with our signature pizza sauce.

We always make our own pizza sauce – you can find the dough recipe here. This way we know exactly what’s in the sauce and we can tailor it to suit. It’s a really easy sauce to make, and you can use it for other dishes like a base for the spaghetti sauce, or for chicken parmigiana.
We all love anchovies, you can leave these out if you wish but they do add a nice salty twist to the sauce – and if you don’t tell them its in it, they will never know….(unless there’s an anchovy allergy…)
Ingredients:
- 2 sachets of tomato paste
- 4 cloves garlic, crushed
- 1 teaspoon chilli sauce
- 2 tablespoons of capers
- 6-8 anchovies
- fresh herbs (basil or oregano – use dried if not available)
- 1 teaspoon sugar
Chop up the capers and anchovies until they are fine and make a paste.
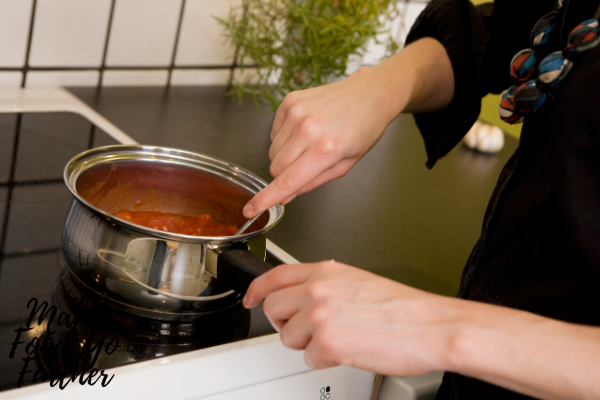
In a small saucepan over low-medium heat, add the capers, anchovies, garlic and chilli, along with some olive oil or anchovy oil. Stir until it all starts to reduce. Add tomato paste, sugar and fresh herbs. Add water to make a sauce. Bring to boil – set aside until needed.
Chilli Paste – Homegrown Best Ever Hot Chilli Recipe
Chilli Paste – straight from the garden and ready to use year round! I have to say, growing your own fresh produce is really rewarding, until you kill something and then have to replace it with another plant (yep, I’ve done that a few times!).
I’d like to thank my mate Dave for his own recipe for Chilli Paste which I have changed slightly to suit our needs – nevertheless, it’s a great paste – thank you Dave!!
So, some time back, Dave tells me about this chilli paste he makes with all the chilli he grows and was saying that he always has fresh chilli in the fridge, ready to use.
Fast forward a few years, “Dave, that chilli sauce you used to make – I made some when you first told me about it, and we have just finished off the jar – how do you make it again?”
So Dave gave me his version – mine is a bit different but still based on the same kind of principals.
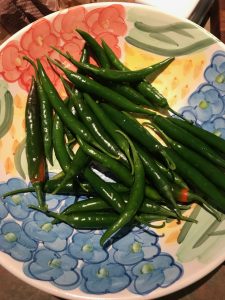
The chilli which I have here is a medium heat one – you can use whatever you can get locally in season (or out of your garden).
Wash the chilli and then cut off the ends.

Trim them into smaller pieces and then put them into a heavy based saucepan. Cover them with Apple Cider vinegar (Dave used just normal vinegar, but I am after all a bit of a rebel). Add about a tablespoon of sugar and a sprinkling of salt.
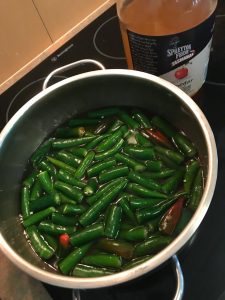 On a medium to low heat, gently simmer the chilli and vinegar until the liquid only just covers the base of the pan – this is why you need a really low heat so that it doesn’t burn – keep an eye on it!
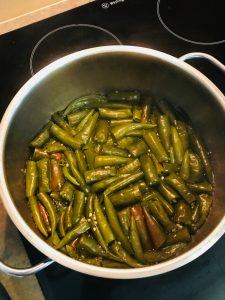 Once the liquid has reduced, it should look something like this – see how the chilli is shiny and wet, but there’s just about no liquid left in the pan? Remove from the heat and let it cool.
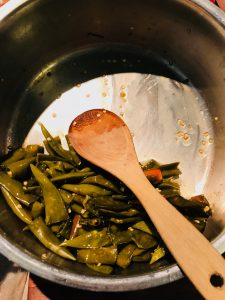
Once the mixture has cooled, blitz it using a hand blender, NutriBullet, food processor or whatever blending appliance you have. Add a little olive oil to the mix to obtain a smooth consistency – the oil will help keep it preserved in the fridge.

Store in a glass container in the fridge – after putting into the jar, add a little extra oil to the jar to seal the top of the mixture.
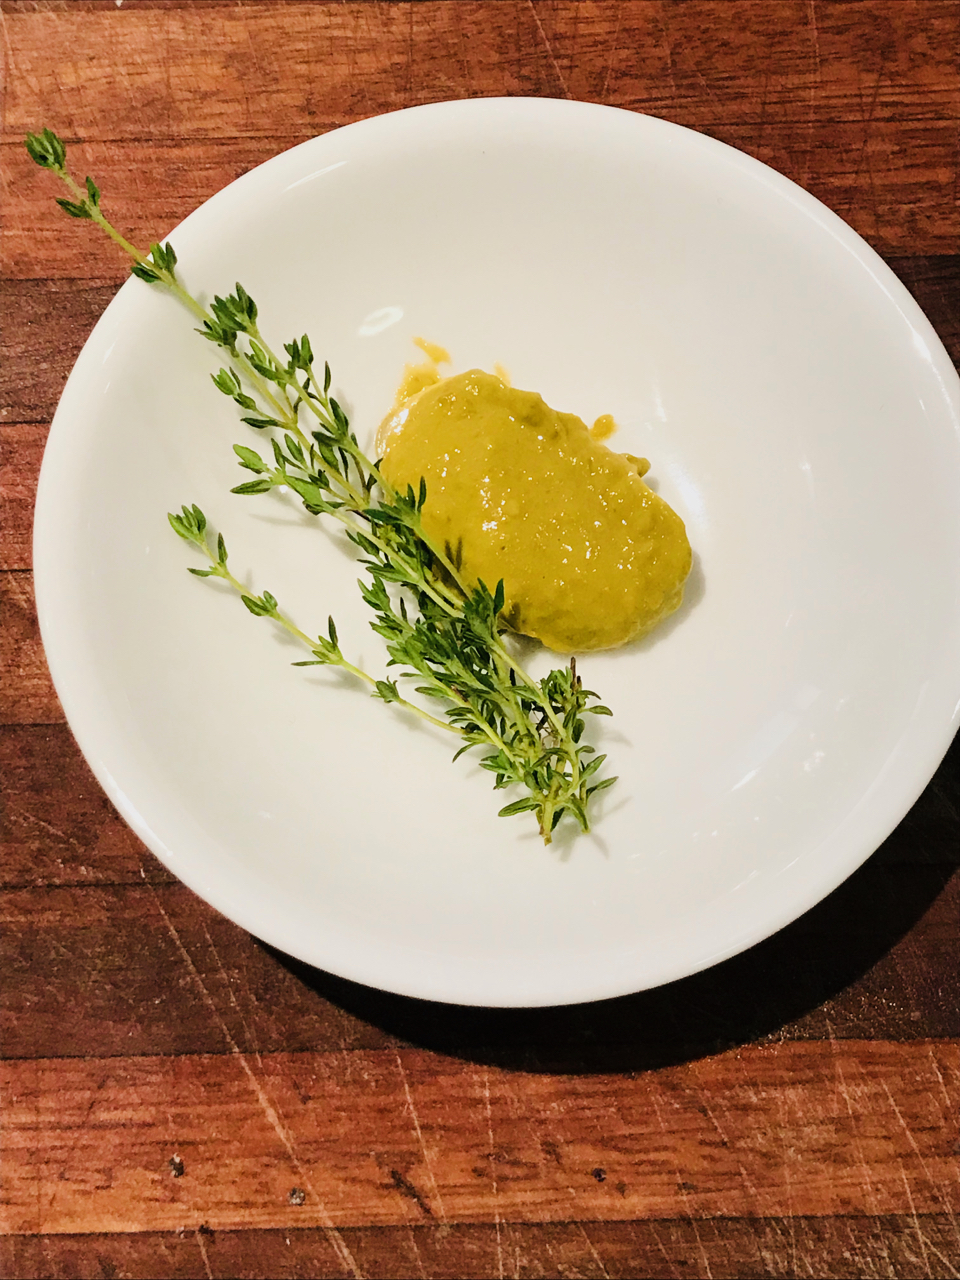
See how this has changed colour – this is after it was blended.
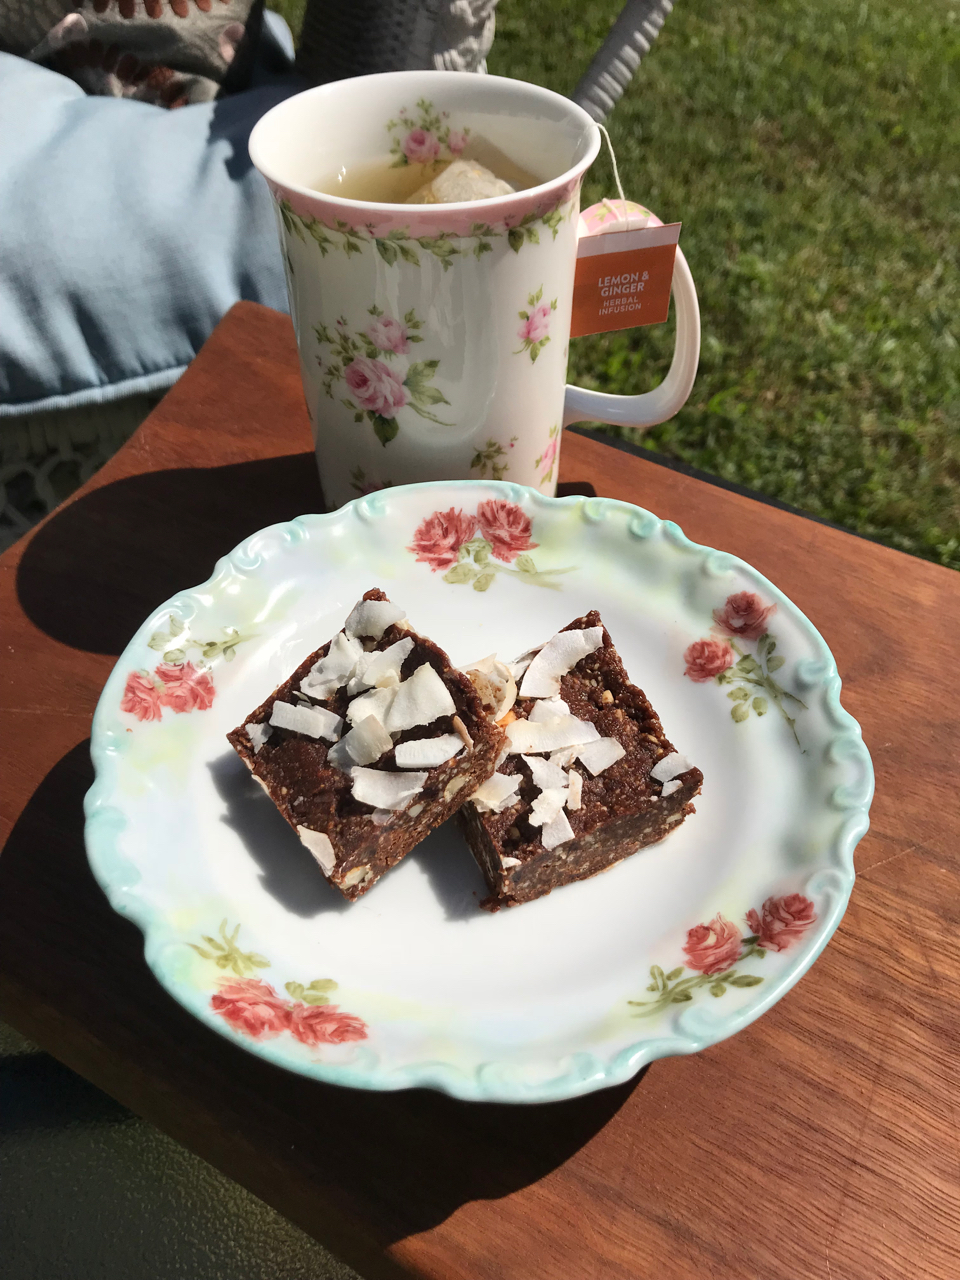
Paleo Bliss – Chocolate Slice!! Ready in no time – Thank YOU!
So this recipe started off as Paleo Bliss Balls…and I would be standing there – rolling, rolling, rolling…what felt like about a hundred of these balls and (yawn) I’d be thinking “there are other things I need to do right now….” You get the idea.
So, the Paleo Bliss Balls turned into Chocolate Paleo Bliss – Slice – you’re welcome!

So I changed it up. Who said they have to be balls anyway to be a mouthful of bliss? Follow my thinking? (Rebel Mel is breaking out of her bonds again, lol).
Anyway, I’ve been making this slice for months now, and my hubby and son love it – the chocolate flavour hides the dates extremely well, and the dates – well you know what dates can do for your colon! So, I say to hubby “how do you like that date slice I make?” to which he replies: “when did you make data slice??” hahahaha – I win – he thought it was chocolate.
Here goes, you can thank me later for how much time I will save you…
Ingredients:
- 15 Medjool Dates
- 1 C Cashews (or other nut)
- 3 T Coconut Oil (needs to be in liquid form, you may need to melt it)
- 1 t Cinnamon
- 2 T Raw Cacao Powder
- 2 T Chocolate Protein Powder (or any flavour you have or like)
- Coconut (either flakes, desiccated, whatever you have)
Method:
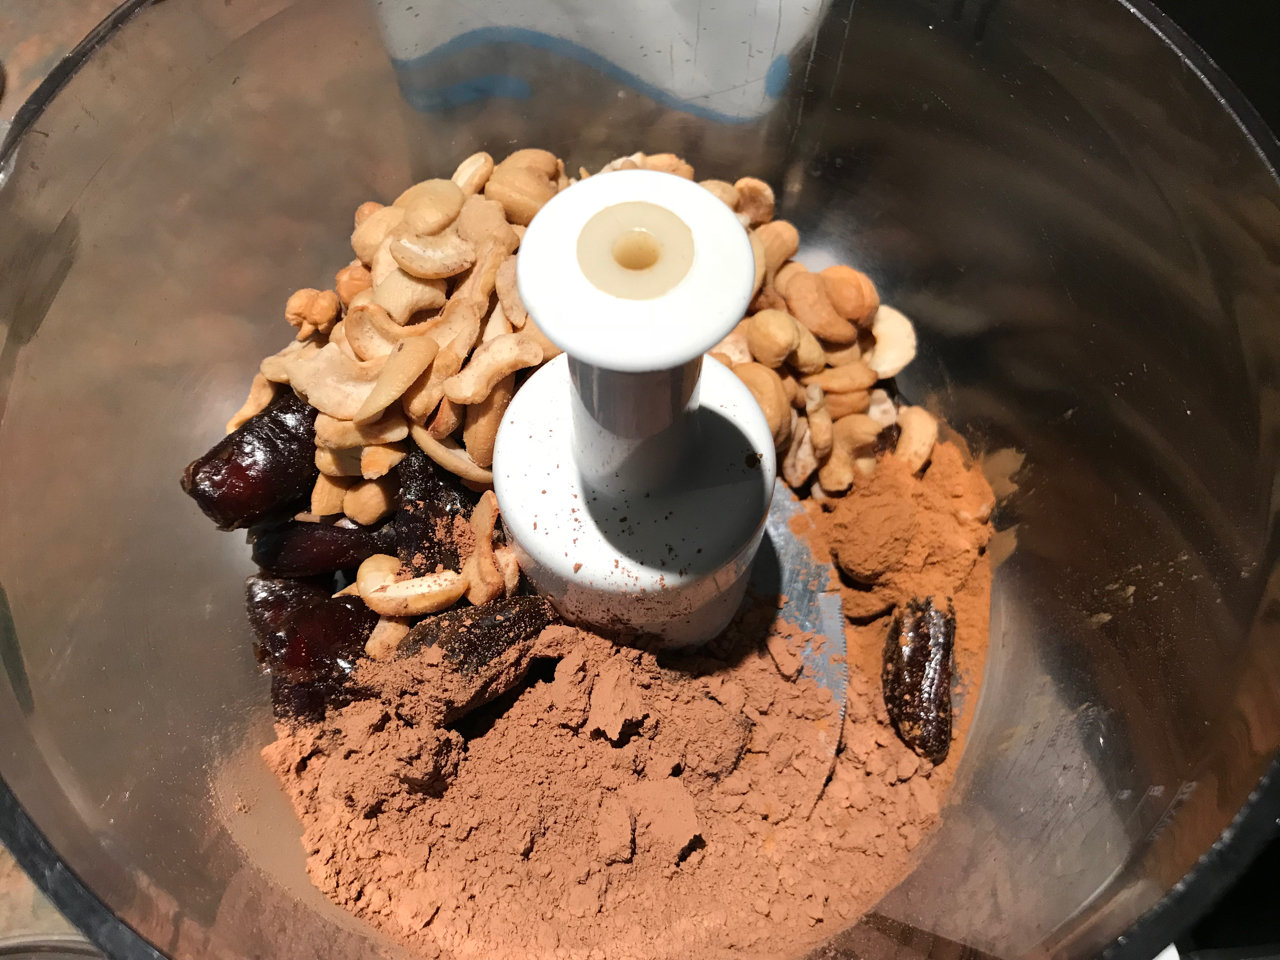
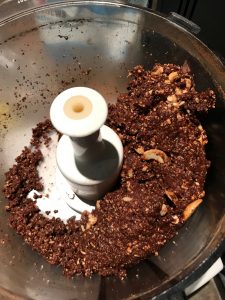
In a food processor, combine all ingredients and blend until smooth – add more coconut oil if needed – you want it to be of a binding consistency but not a wet squishy consistency – if it’s too wet, add more dried ingredients.
Line a slice tray with baking paper so that you will be able to grab the paper once the tray has the filling in it. Sprinkle lightly with some of the coconut flakes.
Press the bliss mix into the tray and spread to each corner, try and get the top as level as possible. Sprinkle more coconut into the top of the slice and press into the slice.
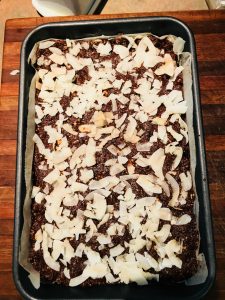
Refrigerate until set.
Using the paper which you can see at the sides of the tray, gently lift up the slice and cut into squares.
Keep refrigerated.